Tuesday, July 31, 2012

Teaching Classes


Last week I taught two classes at the Thousand Islands Arts Center in Clayton, NY.  This has been an annual event for me for about 10 years.  Clayton is a very picturesque town on the banks of the St. Lawrence River. The community is very interested in the arts so it is a wonderful place to teach. 
In the morning I taught a tubular herringbone bangle class.  The picture above is of the rocaille beads that I purchased from Shipwreck Beads for the class.  Colors to die for, I think.

Here is one of the models I made for the class.  I used size 8 seed beads for the darker part of the bracelet and size 6 for the turquoise.  Changing bead sizes in herringbone stitch has a dramatic effect.  Here the turquoise almost looks like a bead.  I made the copper rings to give the bracelet a bit of a tribal feel.  They move all around but never come off since it is a bangle.  

In the afternoon I taught a metal fold forming class and had a record number of students:  12.
They were all wonderful to work with and were so enthusiastic.  Luckily the class takes place in the pottery studio which is its own building.  The pounding of 12 hammers at once can be quite a racket and we didn't disturb anyone.
We used copper and brass 26 gauge sheet metal which I purchased from Rio Grande Jewelry Supply.  Prior to the class, I cut and annealed all the pieces we would use.  I planned on a pair of earrings and two pendants for each person and made extra in case more than the 10 expected showed up.  Good thing I did. During the class I annealed each fold the students made with my Lenk 500 LPT torch.  It held up very well and I only had to refuel one time.
I taught two kinds of folds.  A simple fold using a vice and the more involved Romero T Fold.  We are all indebted to  Charles Lewton-Brain for such accessible instructions on how to do these beautiful, organic folds in metal.  As you can see they are quickly learned and the results are beautiful.  All the pictures below are student work from the class that day.  I think each and every one cane out great!!


Two pairs of earrings in copper

A copper heart pendant

Copper earrings
Super heat patina on this pendant
A pair of earrings and a pendant

Copper earrings

Copper earrings

A brass heart and two copper pendants

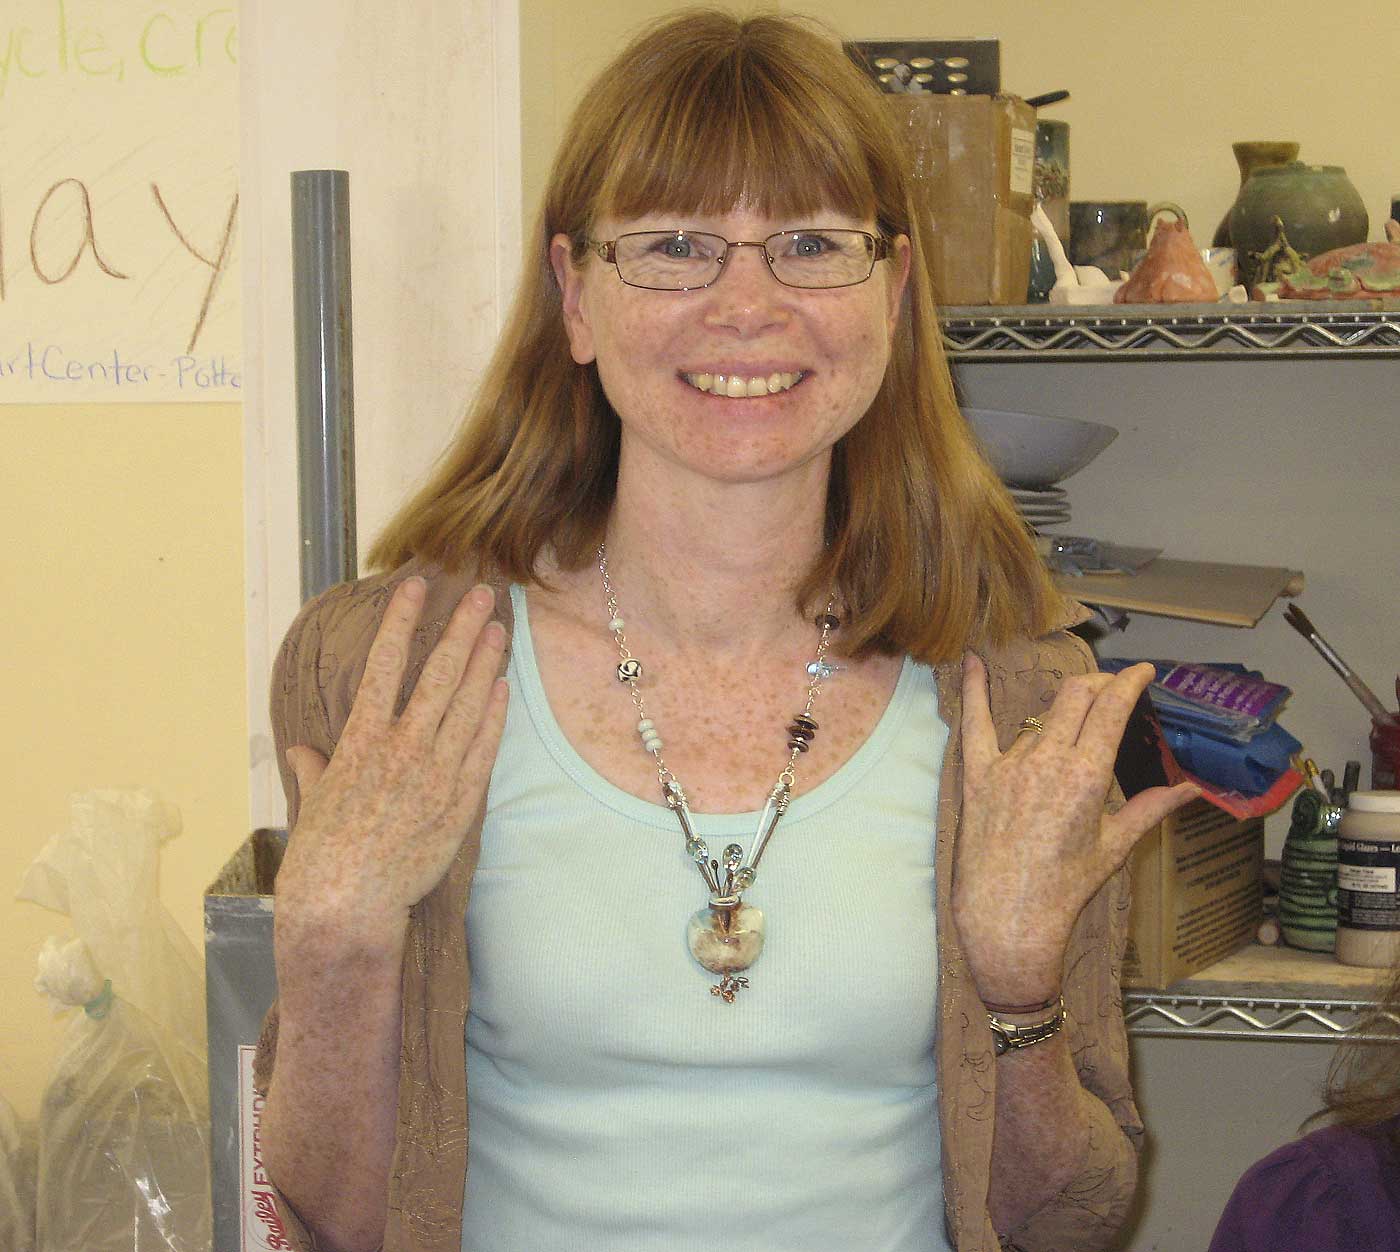
One of the very special things about this day for me was meeting one of my on line friends, Andrea Ross from Canada.  Since Clayton is just across the river from Canada it was possible for her to come.  Since I had never met her before nor seen a picture of her I had no idea who she would be.  Just about 10 minutes before  the class began a number of students arrived.  One of them was wearing an incredible necklace and I commented on how wonderful I thought it was.  She responded by saying don't you recognize your bead??  And all I could say was ANDREA!!  I was blown away.  What a treat for me that she thought to make a necklace with one of my beads to wear to my class.  I am still so touched. 


Thank you to all of my students for such a wonderful day.  You all are so creative and fun to be with.  I look forward to returning next year.

Friday, July 13, 2012

Simple Truths Celebration Blog Hop


Today is the reveal for Erin Prais-Hintz's Simple Truths Celebration Blog Hop.  I was pleased to be invited to participate by Erin at the time she sent me her Woodsy Owl.  He is dear to my heart since we have had a resident owl in our trees for many years.  He hoots mostly on cold winter nights. I believe he is spending the summer somewhere cooler and near water since I haven't heard him lately.  When we signed up for this blog hop Erin asked to let her know our favorite quotation and I chose this one:

"You can't use up creativity. The more you use, the more you have."  ~Maya Angelou


I love this quote from Maya Angelou and every time I enter a blog hop or other creative event I validate this idea.


close up view of part of my necklace showing the copper sticks I used

From the beginning I wanted to use these copper sticks I have been creating in my studio.  


I came upon them accidentally and really enjoy making them.  Here is how it happened:  I mismeasured a piece of 14 gauge copper wire for a project in Deryn Mentock's Boho Bliss class that I am taking on line this summer and made these little shorties.  I liked them so much that I just kept on making more whenever I used the torch for other work.  After awhile I had quite a collection and decided to use them for this Blog Hop.  To me they seem like the same color as the reddish bark, dried needles carpeting the forest floor and pine cones of  the pine trees in our woods  ( White Pine, mostly).  When I added the Woodsy Owl to the chain I was so pleased with the way he fit right into the color scheme.  Almost like a camouflage, and I thought of the necklace as a Habitat. 

I love the way he is looking a bit puzzled.  I hope you aren't as well, by my zigzag  logic here as I tell you how this necklace came about.

Once I had the chain and the sticks and Woodsy laid out I was pleased but I wanted a fuller necklace so I added this Herringbone stitch necklace that I was working on to the mix and the colors together got even better.  So really my piece is two necklaces in one.  They have separate clasps but they are measured out to be worn as one.

Woodsy Habitat   Necklace by Mary Harding


Please visit Erin and the other participants in this blog hop and see what they made.  It will be a great treat for you, I am sure.  Here is the list:
Erin Prais-Hintzhttp://treasures-found.blogspot.com
Sharon Misuracohttp://goinoffthebeadinpath.blogspot.com/
Tanya Goodwinhttp://pixiloo.blogspot.com
Alice Petersonhttp://www.alice-dreaming.blogspot.com
Melissa Trudingerhttp://beadrecipes.wordpress.com
Lori Bowring Michaudhttp://artfullyornamental.blogspot.com
Rebecca Andersonhttp://songbeads.blogspot.com
Chris Whitehttp://dzeyenrstudio.blogspot.com
Cherrie Fickhttp://designsinthelight.com
Rosanne Garvisonhttp://fabfibers@blogspot.com
Shelley Turnerhttp://www.shelleygrahamturner.blogspot.com
Marlene Cupohttp://amazingdesigns-marlene.blogspot.com/
Mary Hardinghttp://www.maryhardingjewelrybeadblog.blogspot.com
Lola Surwillohttp://www.beadlolabead.blogspot.com
Michelle Burnetthttp://reverieandrevival.blogspot.com
Kirsi Luostarinenhttp://kirsiluokorut.blogspot.com
Paige Maximhttp://pmaximdesigns.blogspot.com
Kristen Faganhttp://www.creativestash.com
Cynthia Riggshttp://cynthsblog.blogspot.com/

Sunday, July 01, 2012

My First Metal Bead Follow Up

copper bead soldered with copper paste solder and copper wire solder


I found some of the copper metal paste solder at Lowes and tried it.  The solder has a very low melting temp---about 450 degrees which makes it hard to work with since it easily catches on fire and also will unmelt when you use a higher melting temp solder such as the copper wire solder that I have been using.  Nevertheless with many attempts I was able to create this bead pictured above.  I also made a couple more but am not sure I will use much more of that low temp paste,.  Turns out you could use charcoal grill lighter as a heat source and it would melt. Maybe that is the way to go with it after using a higher temp solder for some of your other attachments.  It does seem to make a good strong bond, as the package claims it will do.

Another metal bead soldered using the copper metal paste and copper wire solder
This is the product I purchased from Lowe's and used with the copper solder wire.  Again, it has such a low melting temp that it can catch on fire with your torch so you need to be very careful. Not recommended.


My next attempt will be with regular solder sold in hardware stores.  My husband had an old kit lying around so I am going to try it and  meanwhile will send away to Rio for some copper solder wire.  I will let you know how I do.  Hopefully I can still get the bronze age look.
                       
                                                  HAPPY CANADA  DAY!!!!


Friday, June 22, 2012

And the Winner of my Asparagus Pendant is...


And the Winner of this Asparagus pendant is......
 chosen by Random.org
                                                      

                        Alice  of Alice Dreaming  
                            Congratulations!!!!!


Please contact me with your address and I will put your pendant in the mail.

Thank you to everyone who participated.  I loved all your comments about veggies.  They were so wonderful and full of fun ideas for how to serve them up.  Again, thanks so much to all of you for playing along.

Sunday, June 17, 2012

Marsha Neal Studio Silk Color Challenge

First Spears of Spring Palette


My Silk Palette has been inspired by the incredible range of subtle colors in an asparagus stalk as it is growing in  the garden.  I have named my palette First Spears of Spring 
Close up shot of the asparagus tips just picked


Still Life with Asparagus


I think I see all of the colors I chose.  What do you think?

Friday, June 15, 2012

My First Metal Bead

I just made this metal bead and I am so excited about it.  I have no idea of how to do this so I am just playing around with some copper pieces that I have and some copper solder wire I bought quite awhile ago. I was very lucky that it worked out.  First several tries and I found that the pieces were not really soldered together.  So I added some regular copper wire between the layers and then the copper solder wire and that seemed to work better.


I love the crusty Bronze Age look of the bead


You can see the balled end pin I used to make a wire wrap on the back and turn this bead into a clasp.

Since I made this I discovered Copper Solder paste in a syringe at Lowe's.  I will be trying that out this weekend and will let you know how it works.  

I have been inspired by a book I recently acquired called Making Metal Beads by Pauline Warg

and Shannon LeVart's Tutorial Hand Forged Links.


Sunday, June 10, 2012

Inspired by Asparagus GIVEAWAY


Inspired by Asparagus   (from my veggie garden)

I have long wanted to make a pendant about my favorite, most beautiful garden vegetable, Asparagus. I just love the way it is designed.  A little like an artichoke.  A little like an exotic flower.  An always the loveliest shades of green. This year, on probably the hottest day of summer, I decided I needed yet another patch of Asparagus.  It takes about 3 years to get one going well and the one I planted that long ago seems kind of barren to me so I found some great asparagus shoots and started digging the trenches.
Meanwhile in my studio I was making a ceramic mold from one of my asparagus spears.


Asparagus roots purchased from a Nursery ready to plant

This is how the roots look when they come from the Nursery.  This one already has some shoots ready to grow so I figure these will be a vigorous bunch and give me a productive new patch.

When my mold came out of the kiln, I could see that it was going to be a good, clear impression. 


asparagus roots laid out in the trenches I dug which are 8 inches deep and 12 inches wide

My asparagus mold came out well and I began making some trial pieces.  They came out well but were too big.  So I tried a small pendant, and I am so pleased with how it came out.

When I planted these, I spread the roots out like an octopus with the little shoots heading upwards.  As they grown I will gradually add the soil that is mounded around the trench.  At planting I put in some rich compost and some soil over the roots.  The deep trench is to encourage the roots to stay deep in the soil so they can weather the cold winter.

my not too productive asparagus patch
I will still keep this patch and we have gotten some great pickings from it but it should be more productive, I think.  I may have planted it too close to our raspberry patch.  Or the soil may be too  dry.  Not really sure what is going on with these.

asparagus pizza we made about to be cooked
One fun way to eat asparagus in on a homemade pizza.  I found a great recipe for pizza dough in the  Spring issue of Fine Cooking.  This is the first recipe that every helped me make good homemade pizza. 

So that is my story of Asparagus love and how it came to be that I made these ceramic Asparagus Pendants.  To celebrate the new patch and the pendants,  I am having a giveaway. I hope you will enter and I wish everyone the best of luck!!

The Giveaway

You can win an Asparagus Pendant like this one.

You can win an asparagus pendant like one of the ones below by leaving a comment on this blog post.  I would love it if you would tell me which veggie you love the most, but you don't have to to enter the giveaway.  Just a comment and a way to contact you is all you need to do.  I will pick a winner on Wednesday ,  June 20, the first day of Summer.  .  So be sure to enter by midnight Tuesday, June 19.  Thanks so much for reading this post.

Ceramic Asparagus Pendant in my Etsy shop
                                                                        
Ceramic Asparagus Pendant in my Etsy Shop

Thursday, June 07, 2012

Art Bead Earring Swap

Today is the reveal of the  Art  Bead Earring Swap.  Diana Ptaszynski from Suburban Girl Studio has organized this fun event.  Each of us has been randomly assigned 2 partners to swap earrings with..  The only requirement is that each pair of earrings would be made with at least one Art Bead.  I had the good fortune of receiving 2 beautiful pairs of earrings from my partner Patti Vanderbloemen.  You can see her blog post for today here.
Both pairs of earrings arrived in these charming star studded little bags.  This pair features art beads by MarshaNealStudio--the cool black tiles-- and lampwork beads by  artist Maryse Fritzsch-Thillens  from Luxembourg.
Patti wrote me a lovely letter telling the details of each pair.  For these she handmade the ear wires from sterling silver and did all the exquisite wire wrapping with sterling silver as well.  What a beautiful pair of earrings.  And they are fun to wear.  Thank you so much Patti.
The second pair of earrings Patti sent me feature bronze charm art beads from  Lesley Watt (TheaToo).


These mirrored butterfly images are stunning set against the Canyon Red lampwork beads by Kelley Ford Wenzel of Kelleys Beads.  And very special indeed are the handmade Vintaj wire ear wires made by Patti.  I just adore the way she added the extra swirls to them.

I have certainly enjoyed this earring swap.  I hope you will visit the other participants.  The links follow:


Diana Ptaszynski     http://www.suburbangirlstudio.com
Patti Vanderbloemen        http://myaddictionshandcrafted.blogspot.com
Lesley Watt        http://www.thegossipinggoddess.blogspot.com
Jenny Davies Reazor      http://www.jdaviesreazor.com/blog
Melinda Orr      http://www.orrtec.blogspot.com
Cilla Watkins      http://www.tellyourgirlfriends.com
Stephanie Haussler       http://www.pixybugdesigns.blogspot.com
Sally Russick     http://www.thestudiosublime.com
Susan Kennedy       http://www.suebeads.blogspot.com
Cheryl Brown    www.dragonflybeads.ca


Tuesday, June 05, 2012

Bronze Wire Golden Tips

I found this wire in my studio yesterday and decided to try it out for making balled end pins.  I had bought it some time ago from Objects and Elements.  As you can see it is 20 gauge so it could make some nice ear wires or be used to make some wrapped loops.
They balled up quickly and the colors are quite nice.  A kind of golden pink--a little different than copper.  This wire has copper in it.  There are a couple of bronze type wires on the market so I am not sure which one this is.
Here is another pic of them showing all the colors the wire turned in the heat of the torch.
Then I buffed them and took off most of the black and they turned a golden brass color--quite lovely.

And here is the little butane torch that did all the work.  A Lenk 500.  A real pleasure to use this little guy and get big torch results for drawing a bead on wire.  (I got mine from Amazon but it is also carried by many local Ace Hardware stores and can be ordered from Sears.)

Raku Bead Video Part III